How to buy or find the perfect rocks for Rock Painting

The rock is going to be your canvas, so make sure you have rocks that inspire your upcoming creations! Find rocks with funky shapes, or beautiful colours, bigger for detailed scenes or tiny for tic-tac-toe projects and collections.
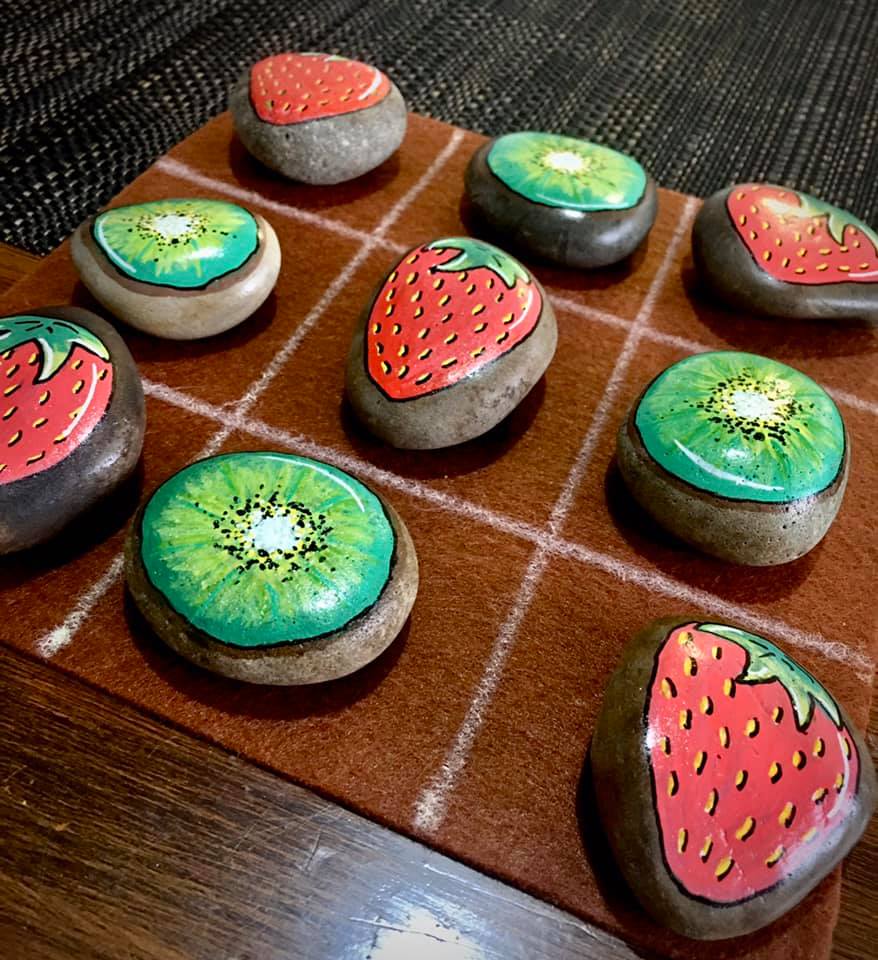
This fantastic watermelon and kiwi tic-tac-toe with rocks made by Samantha Dorahy is the perfect example that the perfect rocks inspire the artist!
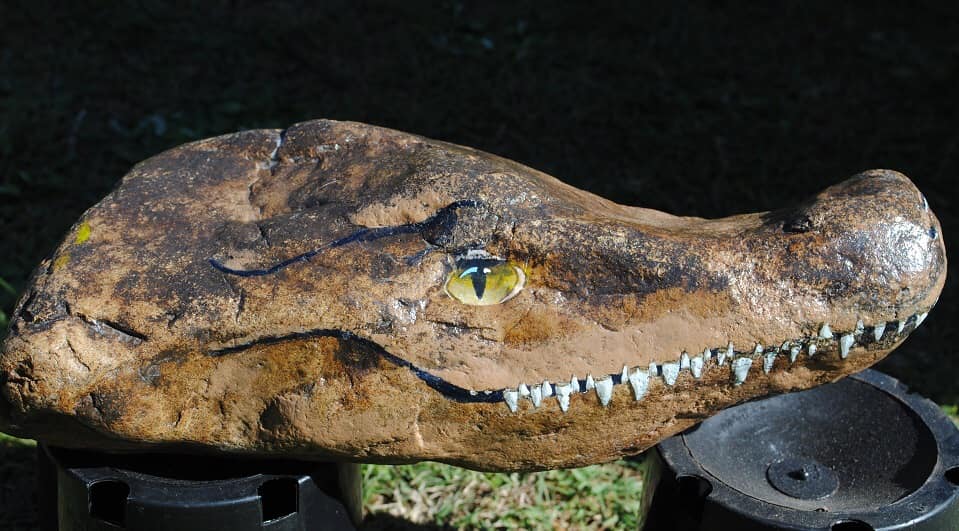
Alan Spears' crocodile rock is another fantastic example of rocks that inspire you to create based on their shape!
Best rocks to buy for rock painting
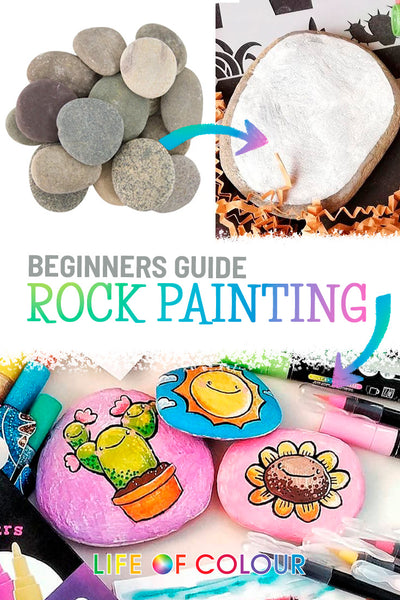
The best types of rocks to use are smooth flat rocks. You can always go outside to look for them, on riverbeds, parks, beaches, forests, and so on, but if you have limited natural rocks in your area you can go to your local hardware store like Bunnings or landscape suppliers to buy them.
Life of Colour also provides you with amazing rocks for painting, the box includes 5 round, natural and smooth paintable stones.
Each rock is carefully hand-picked to provide a perfect canvas for rock painting enthusiasts with a diameter of 6cm and 0.7cm thick and fits perfectly in your hands so you can paint tiny details with ease.
They work perfectly with our acrylic paint pens, so we encourage you to get started with our All About Rock Painting bundle (and save $20, plus free shipping in Australia).
You can buy a whole bag for pretty cheap so you will have plenty to practice with and improve your skills. Make sure you do not buy polished rocks as the paint will not stick very well, if you do buy polished, a bit of light sanding and priming will help.
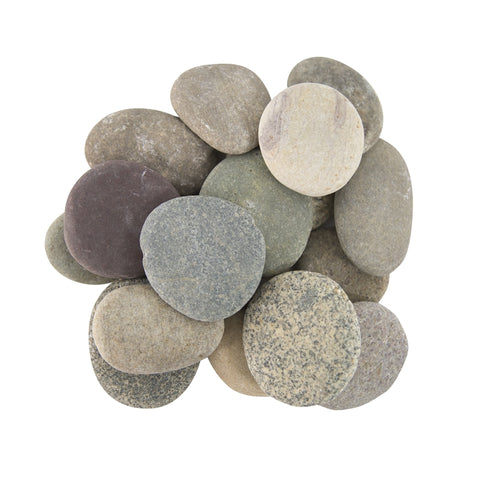

Paint shows up better on light rocks than on dark rocks, although if you have dark rocks, all good, you can still prime them with some light paint.
How to prep rocks for rock painting
Wash your rocks to remove any dirt or dust before starting. Let them dry and then you have an option of sealing or priming the rock to make a nice smooth surface to the rock.
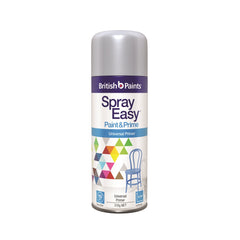
You can use a spray primer or a brush on primer/undercoat from dulux. Do one side at a time and make sure the entire coat of primer is dry first before starting to paint.
Another option is priming with white acrylic paint using a broad brush. Take the opportunity and prime a batch of rocks at the same time to make the process speedier for you. Casey Smith explained her process for these beautiful pastel backgrounds in Life of Colour Art Group: "the background colour is acrylic paint mixed with a pot of white that I got from Bunnings. I always add the white because it makes the paint thicker (easier to spread and you don’t have to do anymore then 2 layers) and the colours nicer for a background"

Remember to always let your primer dry before applying colour with paint pens.
Why is priming rocks necessary?
Priming your rocks before you start painting is important for two reasons: the surface will be smoother and less porous, but still porous enough to absorb paint permanently (as opposed to a polished rock, ceramic or glass for example).
This will help you in the painting process, less coats of paint and less damage to your paint pen nibs and/or brushes.
If your paint pen felt tips get damaged from heavy use or coarse rocks, don't worry you can buy 3mm felt tips and 1mm plastic nibs on our store and give the pens new life.
Rock painting ideas for your inspiration
Here are some fun ideas to get you inspired and motivated to try rock painting!




1 Response
Does anyone in Melbourne know of a source of nice smooth river or beach stones for painting without having to buy them? Please, up to 50kms out of Melbourne?