Creative Kids Gouache and Watercolour Kit activity sheet
Mixed media artist Tammy Klingner shows kids how to use house items, like bubble wrap and cotton buds, and make amazingly vibrant art. We recommend these rainbow journal-inspired pieces for tweens and teens, but kids of any age can replicate the steps pictured below to create their own versions.
Rainbow drips

Step 1. Starting top left corner just scribble some red
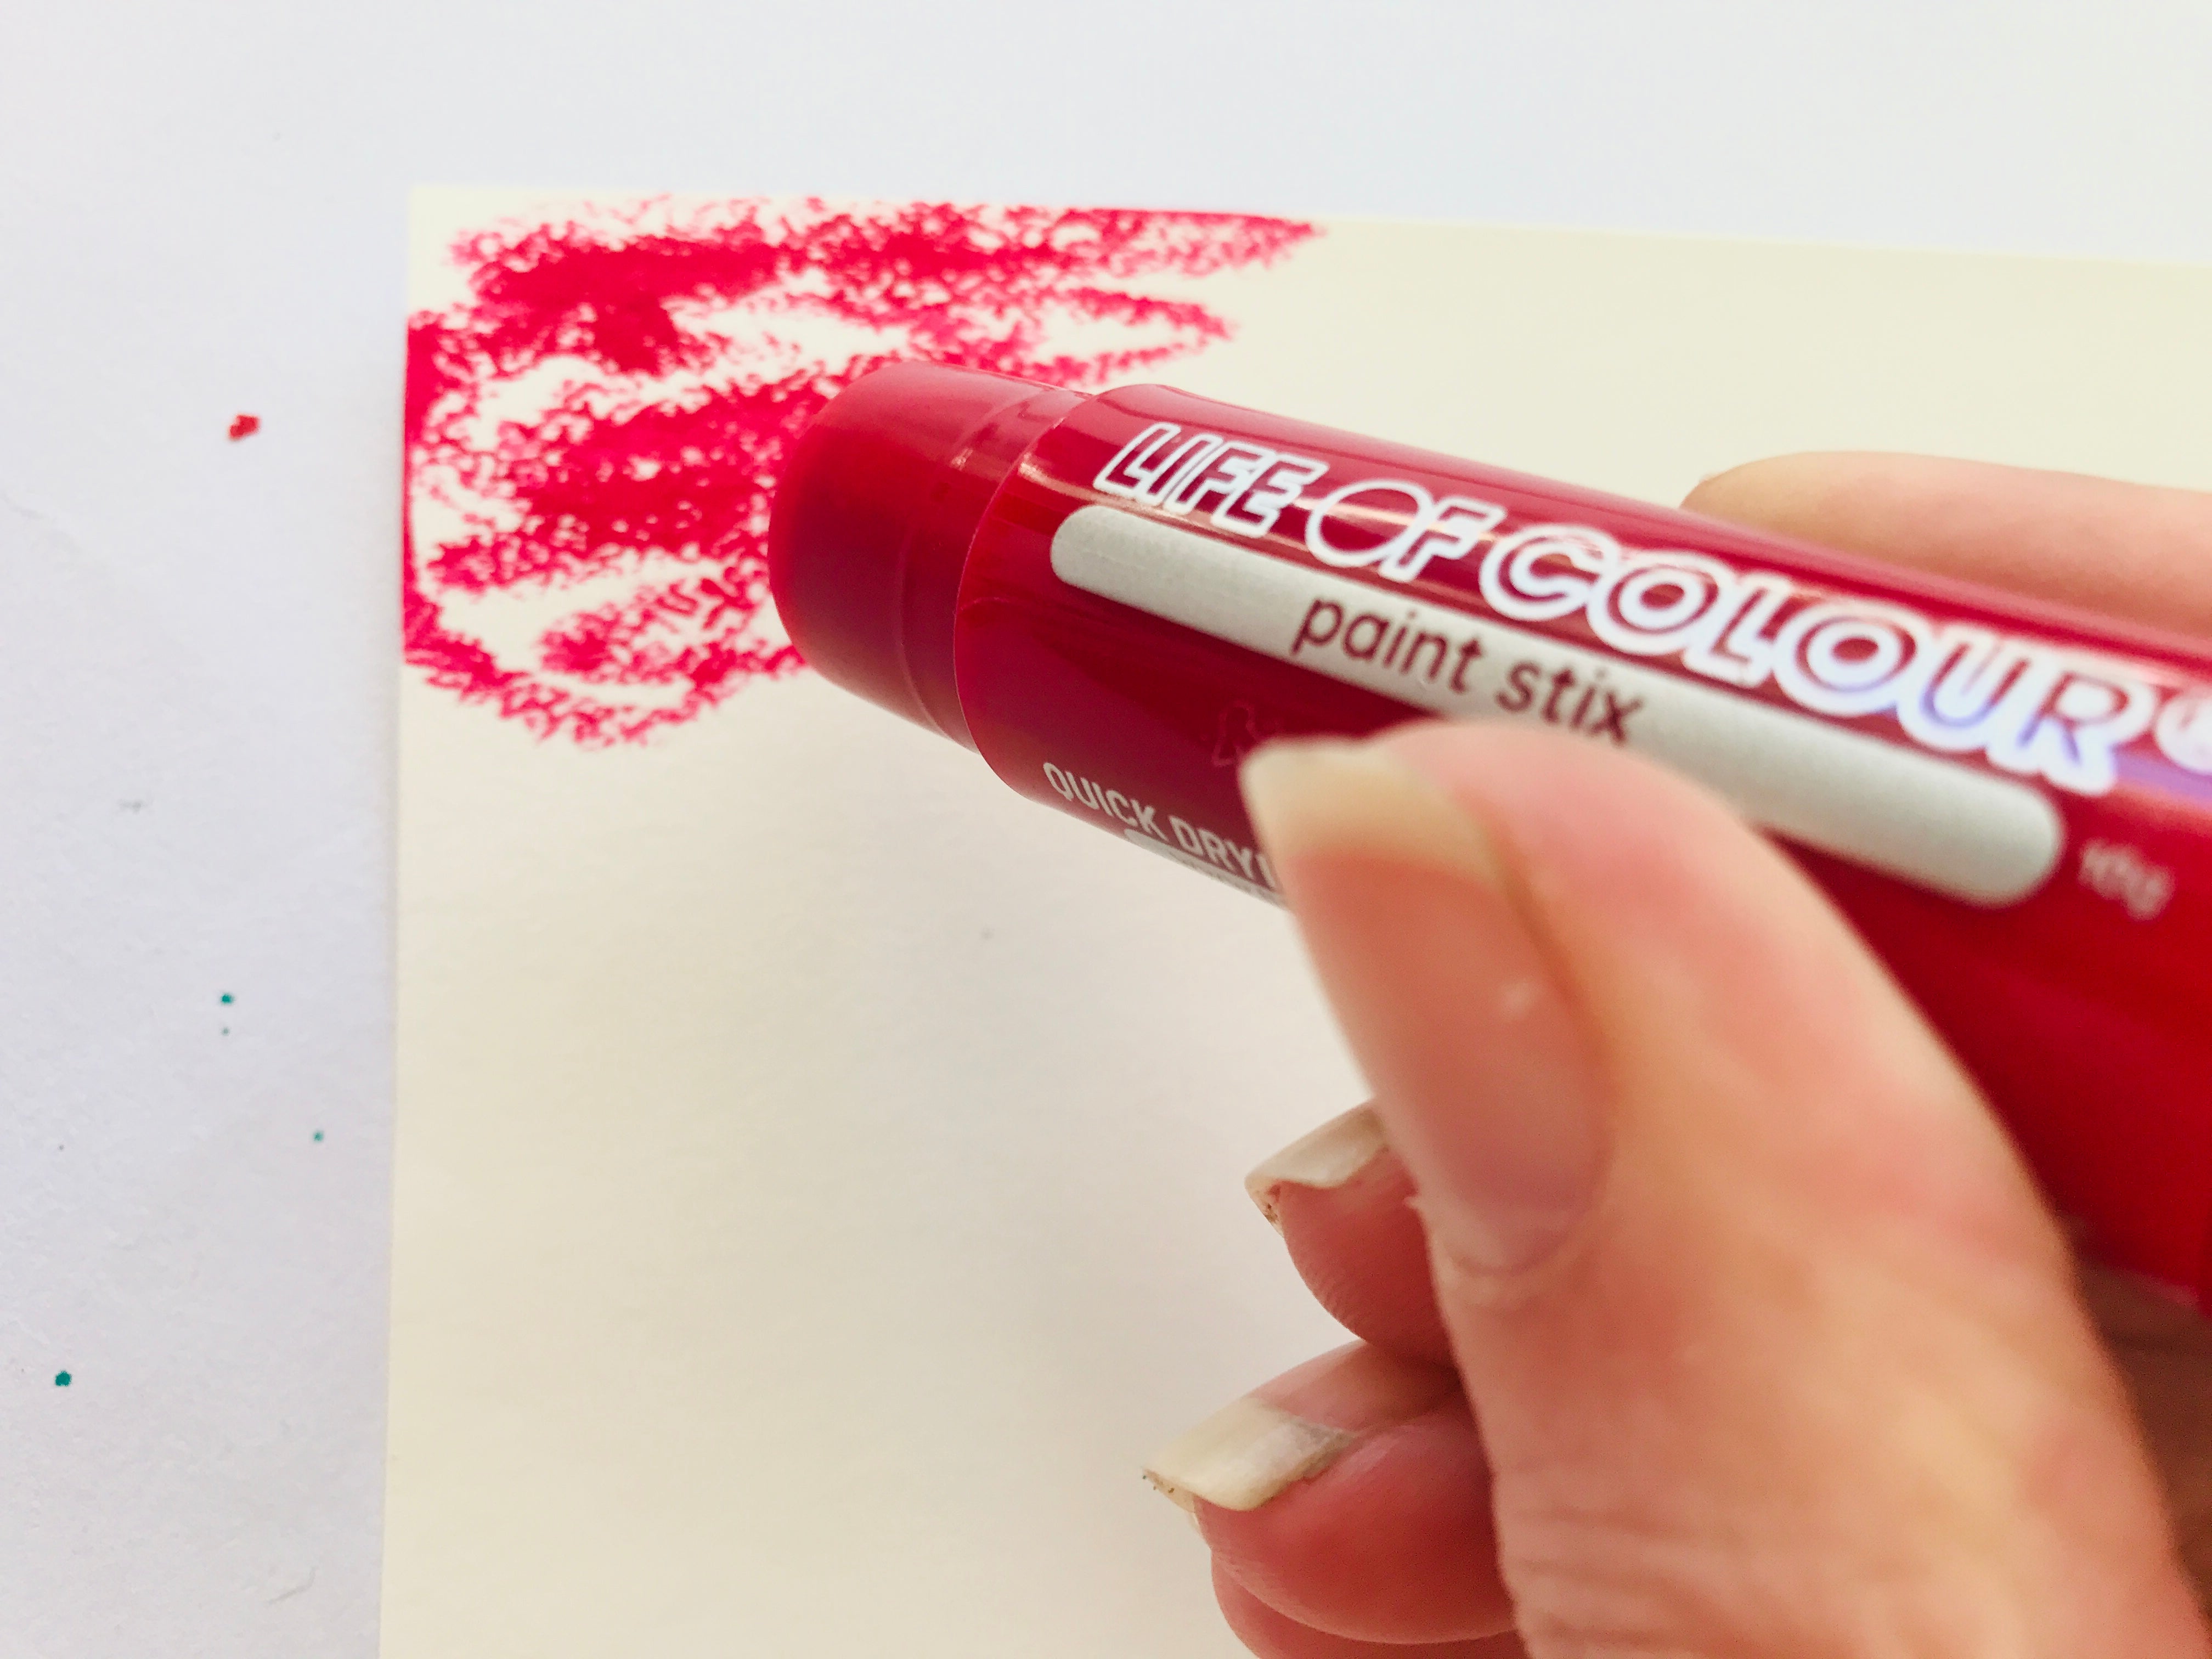
Step 2. Add water with a paintbrush or your water brush

Step 3. Allow it to drip down page

Step 4. Continue this step through the rainbow colours, blending them slightly as you go


Step 5. For this next step we are going to use an old roll from inside a glad wrap or Alfoil.

Step 6. Grab some old packaging from a product. Add a touch of water. Dip end of cardboard roll in water and then apply gouache


Step 7. Now use as a stamp. Press down onto paper.

Use the same colours on top of your drips. This builds the layers and continues the rainbow effect.
Continue wiping off excess gouache as you go with a wet wipe.
Step 8. Wet a brush and add some gouache. Flick it over page to get a flicked paint look.

You may want to cover up the other colours with paper towels to minimize the crazy!
Step 9. Hand write or type and print off a favourite quote. You can also use bits from old books or magazines.
Glue onto page and go around edges with black paint pen, adding scribbles.

Rainbow drips with a twist
This variation of the rainbow drips would make a great sign for a door or wall. Instead of a quote, add your name!
Step 1. Grab some washi and tear off a few strips and place in Centre of page towards the top

Step 2. Follow the steps shown above for the rainbow drips, painting over the washi tape - you'll remove it after.

Step 3. Once dry remove washi tape.

Step 4. Add in name using watercolour brush pen of choice.

We used black. Could use your fave colour or even do each name in a different colour!
Step 5. Add a few stars.
You could use hearts - whatever you like!

Rainbow tree
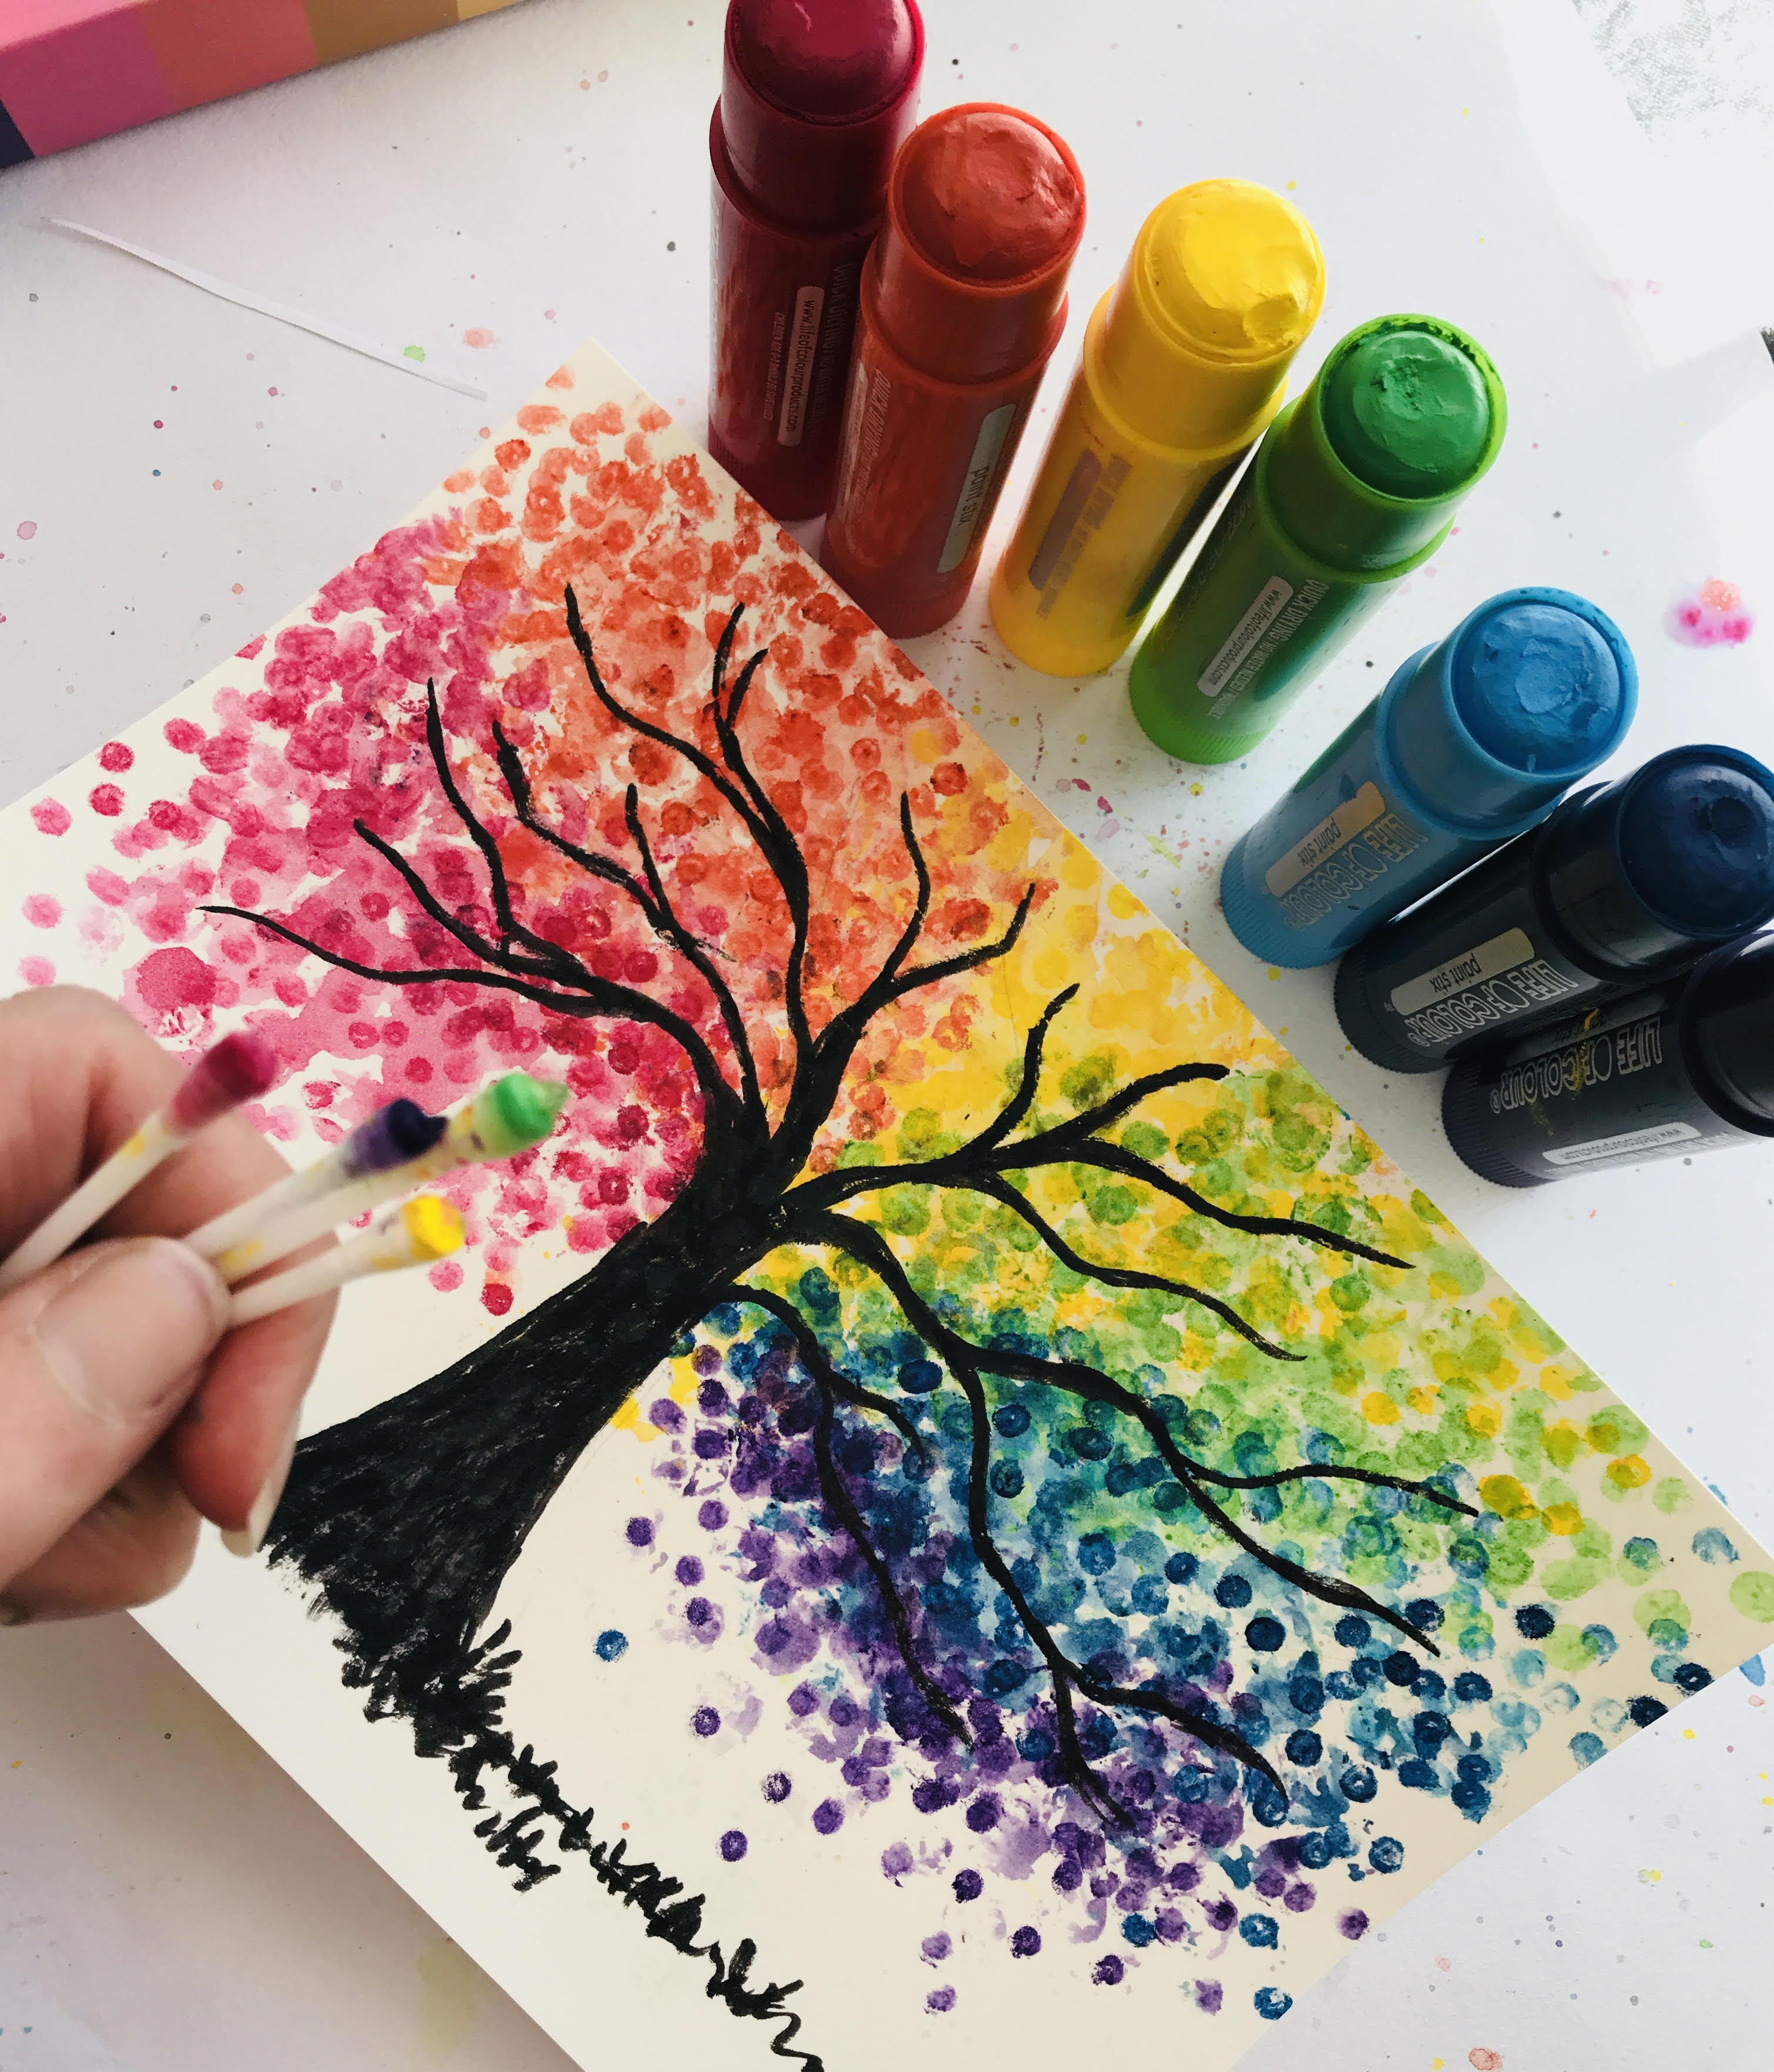
This Rainbow tree is the perfect mixed media piece to start experimenting with stamping using different textures from around your house.
After trying the rainbow version, kids will be able to make a tree using their favourite colour palettes by following these same steps.
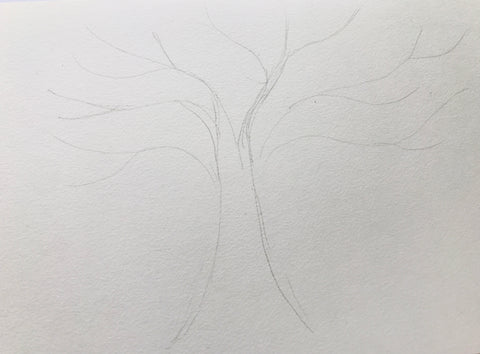
Step 1. With a pencil sketch a tree
Step 2. Rub some of the gouache onto some bubble wrap.
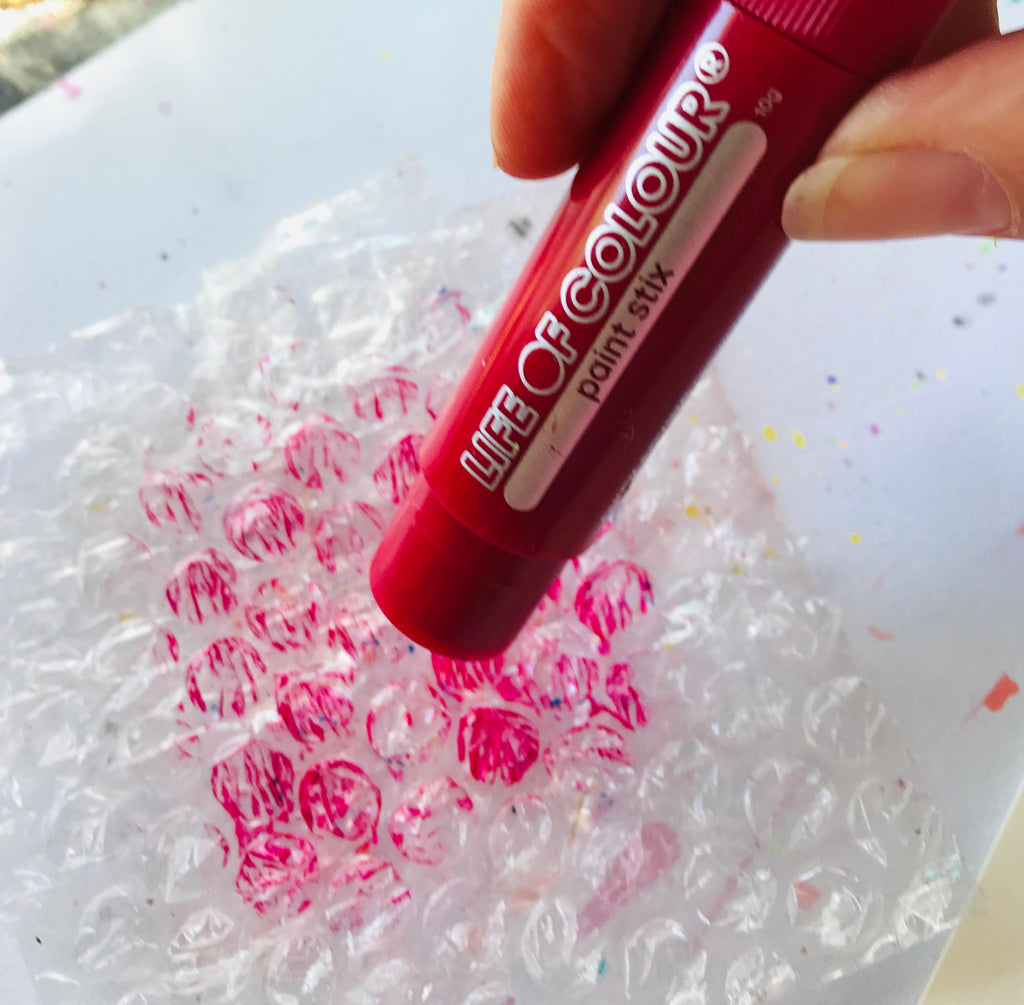
Step 3. Add a touch of water
Step 4. Turn it over and stamp it onto the tree as leaves. Start on the left.

Step 5. Move around towards right using rainbow colours.

Wipe off bubble wrap using a wet wipe inbetween so you don’t end up with mud.
This is to create a loose artsy mixed media background
We will add layers next.
Step 6. Grab 4-5 cotton buds. Wet one end and then wipe it across gouache.
Now add it to your background. Lots of little circles.

When changing colour use a new end or cotton bud.
Step 7. Draw tree and branches in using watercolour brush pen. Add grass and a few dropped leaves


Colourful circles
Step 1. Use washi to tape up edges of paper
Raid the cupboard for a few glasses. You need a couple of different sizes - some smaller and some bigger. Turn upside down on your paper
Step 2: Spritz the sections you are going to start with a little water
Step 3: Using a brush directly onto the gouache and then add to edges of glass. Watching it run and move about is half the fun
Continue with other colours.
As these run together a bit be mindful of what you place next to each other
Build up some layers for some depth

Step 4: Lift up glasses.
Now come in with your watercolour brush pens and add to the layers. Best done whilst still a little wet
Use them all!
Step 5: Let dry. You can place the glasses back on to page and add splatters (optional).

Step 6: add in some black paint pen work around the circles - don’t worry about perfection as we add scribbles too - the perfect cover up for any whoopsies.
Step 7: Now add some line work, scribbles and smaller circles joining altogether

Step 8: Time to splatter! Cover up inside of circles.
I just used bits of dry baby wipes that are heading for the bin.
Load pen by pushing down a couple of times. Now flick over page

Step 9: Add a quote. Hand written or typed and printed off. I also added white pen scribbles around this to contrast with the black edges
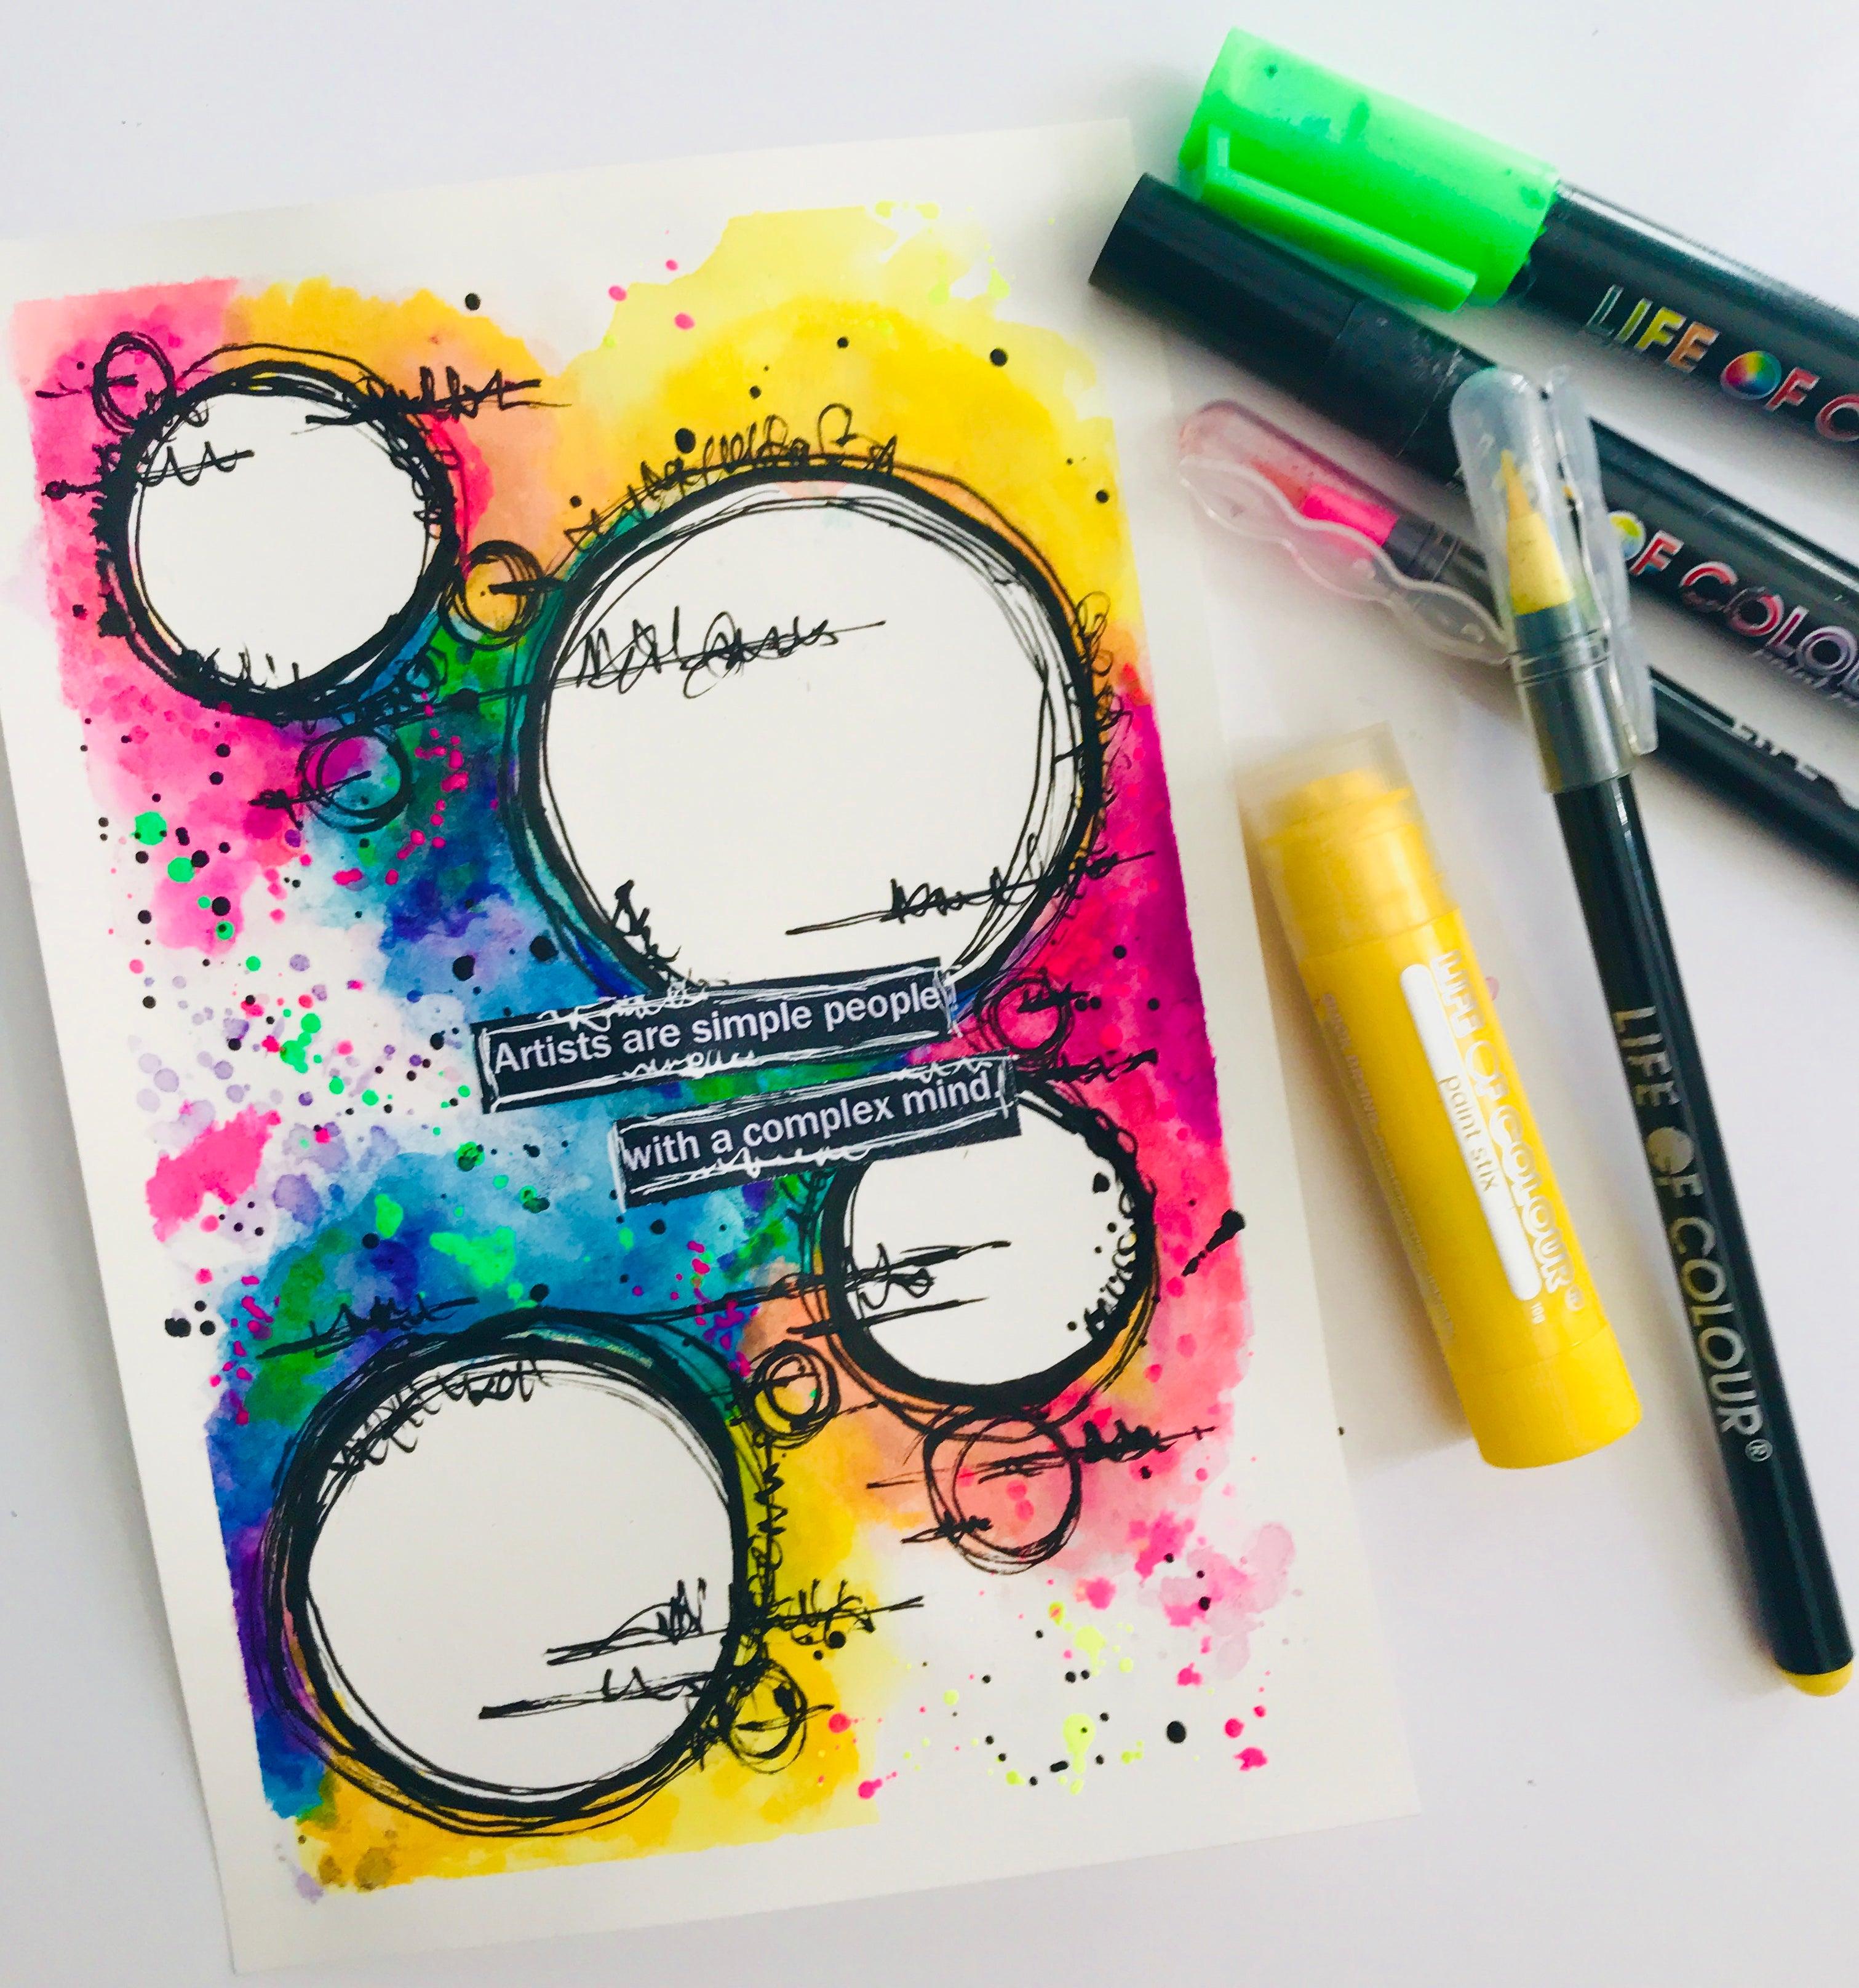
Ta da!
Floral fun

Step 1: Tape up edges with washi
Step 2: Sketch a rectangle in lower left section (this will become vase)
Step 3: Now add lines with washi just in this part We want the vase to be striped!
Step 4: Using a brush add a touch of water between washi and then rub black gouache over it
Blend with brush.
Step 5: Peel off washi ( just this section. Not the borders)

Step 6: Now too add flowers. Use gouache directly onto paper
Just add circly swirls and a few basic shapes
Step 7: Add leaves. So fun this part!
Now add some water with a brush to each section.
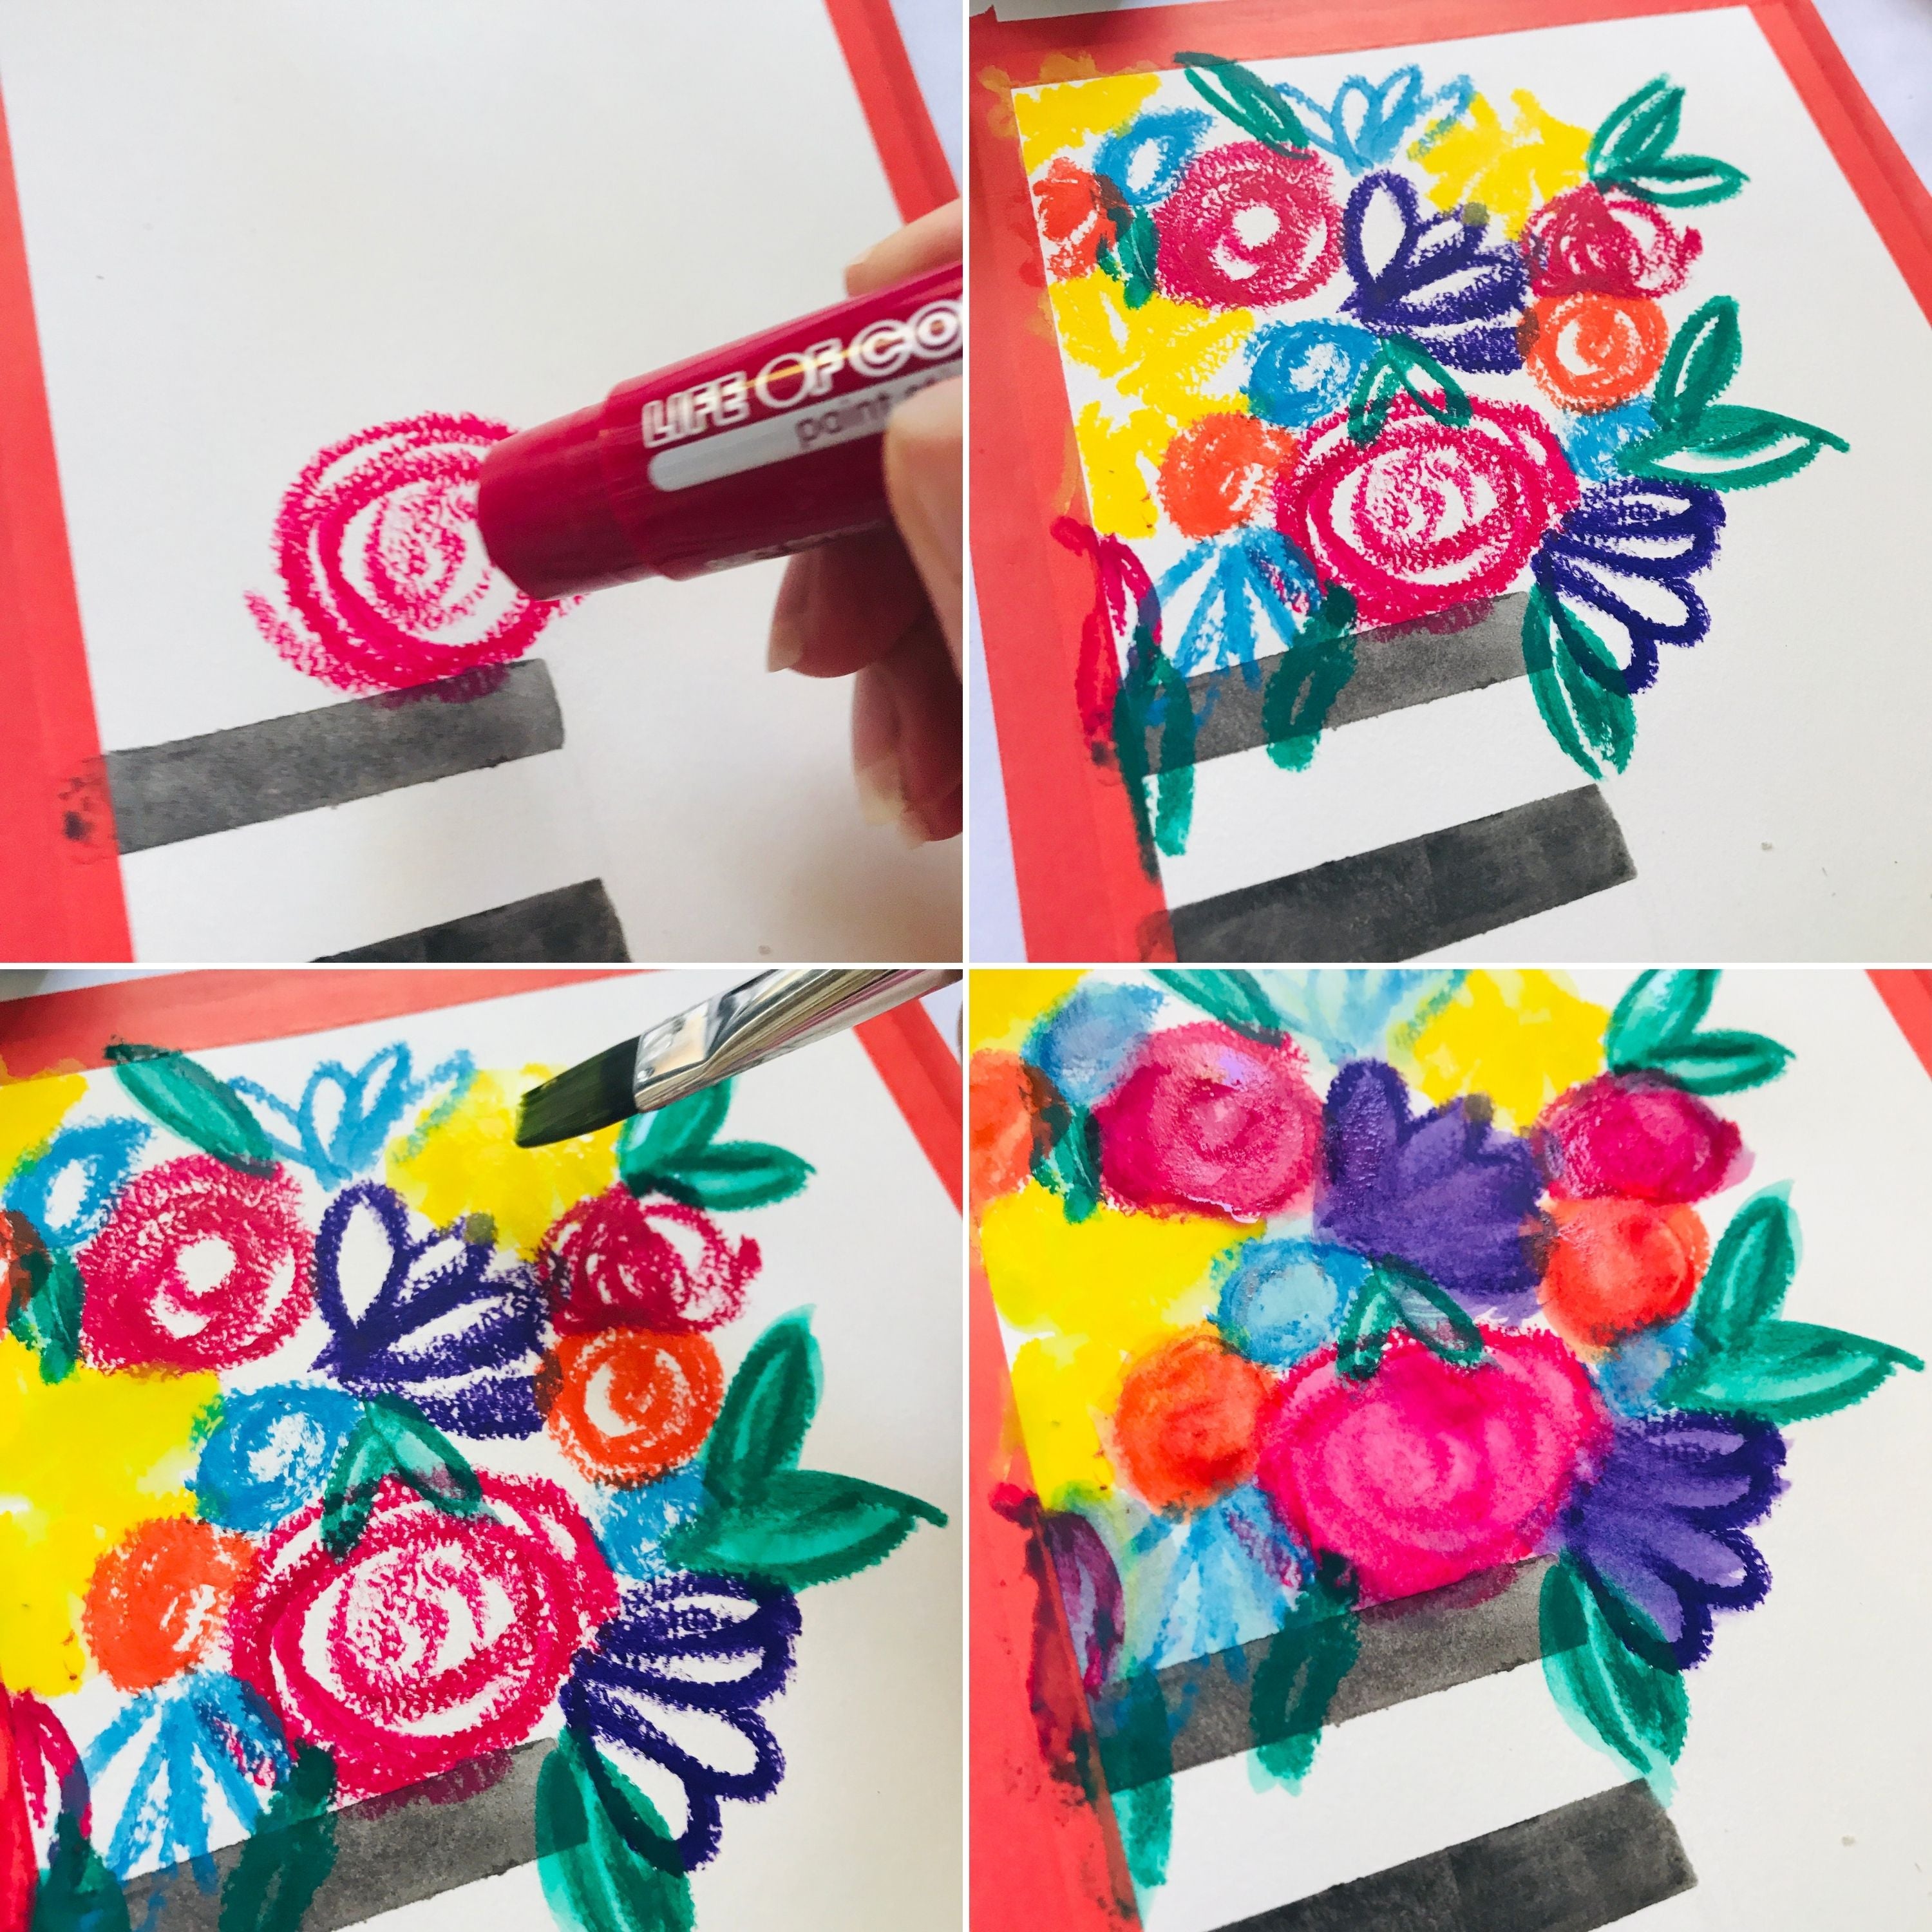
Step 8: That’s the basic look. Now to add depth. Using brush pens fill in details
Step 9: Now for the background. On some plastic packaging rub some gouache
Using a paint brush add some water and mix until you have watercolour consistency
Brush onto background
Step 10: Once dry it’s time for fine details
Using a cotton bud - dab into gouache directly and bounce onto page to create more flowers

Step 11: Now using white paint pen add highlights.
Step 12: Cover up flowers and vase and get splatting using paint pens

Pull off washi tape
Ta da!


