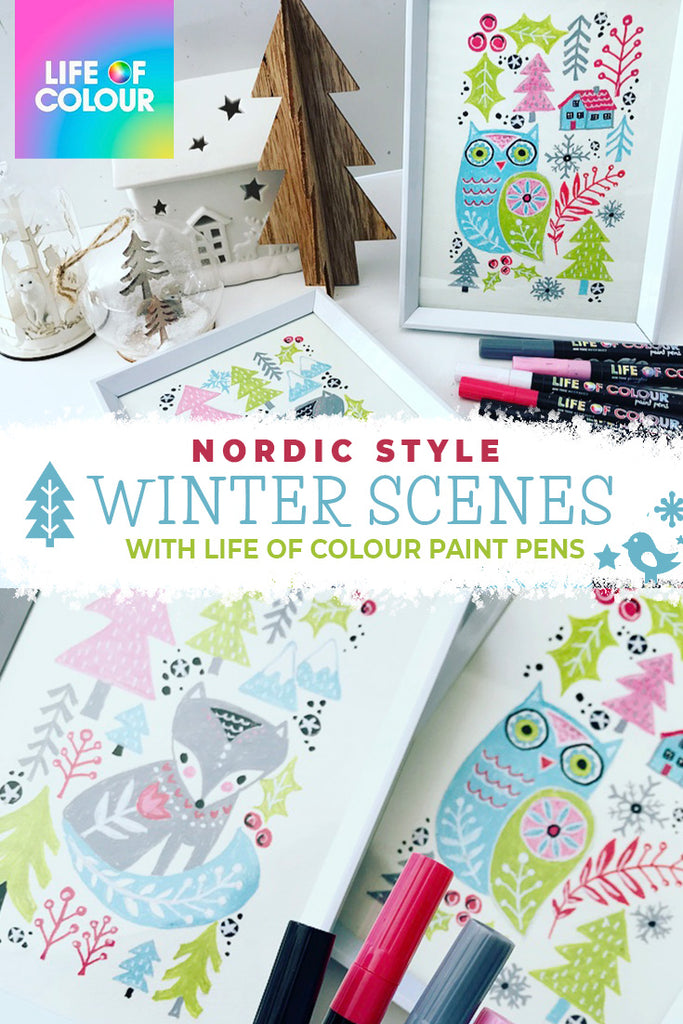
Nordic style Christmas scenes to decorate any corner of your home
Tutorial by: Tammy Klingner
We all know the feeling, everything is perfect for the Holiday season but there's a corner that gets not attention... you know the one?
In this tutorial, our ambassador Tammy shows you how to make not one but two adorable cozy nordic scenes to bring the Holiday spirit into that shabby nook!
All you'll need is your trusty Life of Colour paint pens and mixed media paper, and two simple white frames.

For this tutorial we'll be using the wonderful Life of Colour mixed media paper, if you have the A5 cards you are ready to go; if you have the A4 paper, cut a sheet in two.

Next use your washi to mark approximately 1.5 to 2cm of clean edges. We'll remove it after we are finished.

Draw two scenes, repeating some elements on both to make the duo look cohesive.
On one of them, we will be doing an owl and on the other an adorable fox.
The basics of this nordic minimalistic style is to use simple shapes to make up larger elements, work a limited colour palette and overlap solid areas of colour with subtle patterns.

Use your paint pens to fill the basic shapes. For these Christmas scenes, we used dusky red and pink, muted blues and pops of lime green.
Most of these can be found on our Special Colours, and you can also incorporate some of the lovely blues from our Earth Colours.

After you filled the basic shapes of your whole composition, go back in and embelish everything using your 1mm paint pens white subtle patterns, black or a darker muted blue.
Take note of the dashed or dotted patterns used. You can also add beautiful flower motifs to bring it all together.
Remember to carefully remove the washi! You can use a hair drier to warm it up first.

Use a white frame to make your new decorations look fresh and minimalistic.

Combine them with white and wooden ornaments to have your perfect Christmas corner!


